
The member guide
Every step, from creating your account to your dashboard, with a picture of the page you will see.
Open the sign-in page
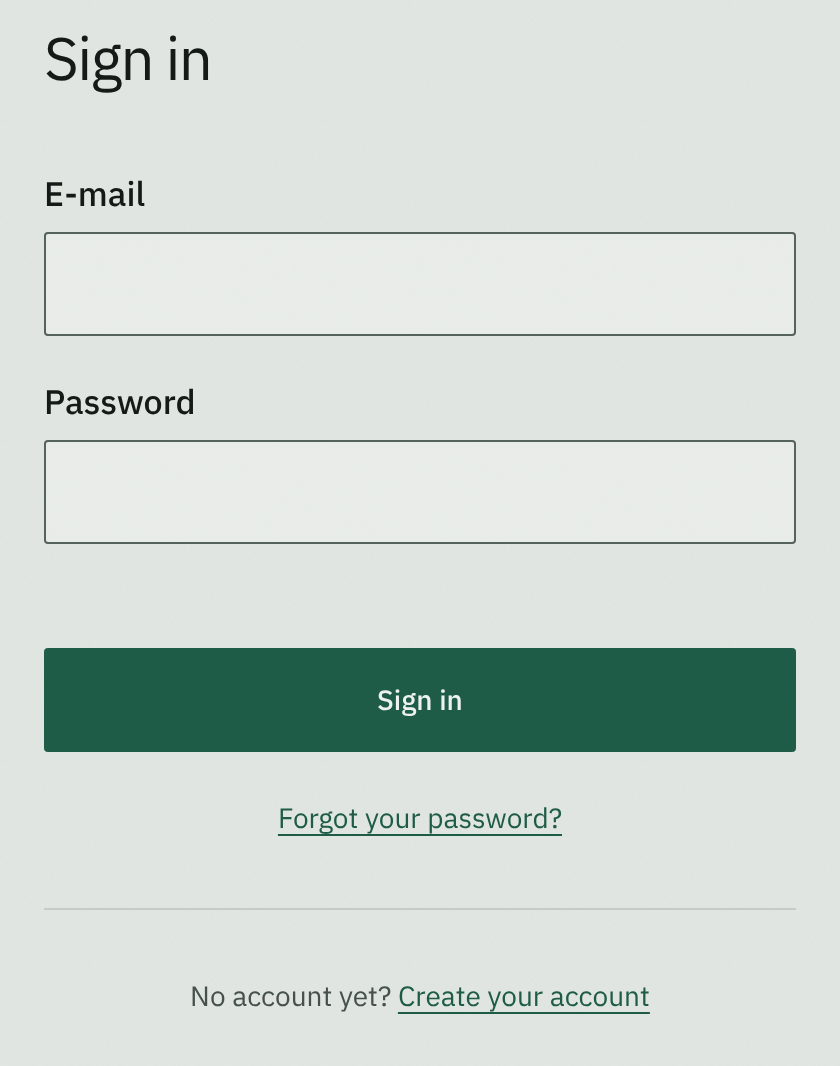
On eonquant.com, open "Sign in" at the top of any page (on a phone, in the menu). It opens our sign-in page. No account yet? Press "Create your account" under the "Sign in" button.
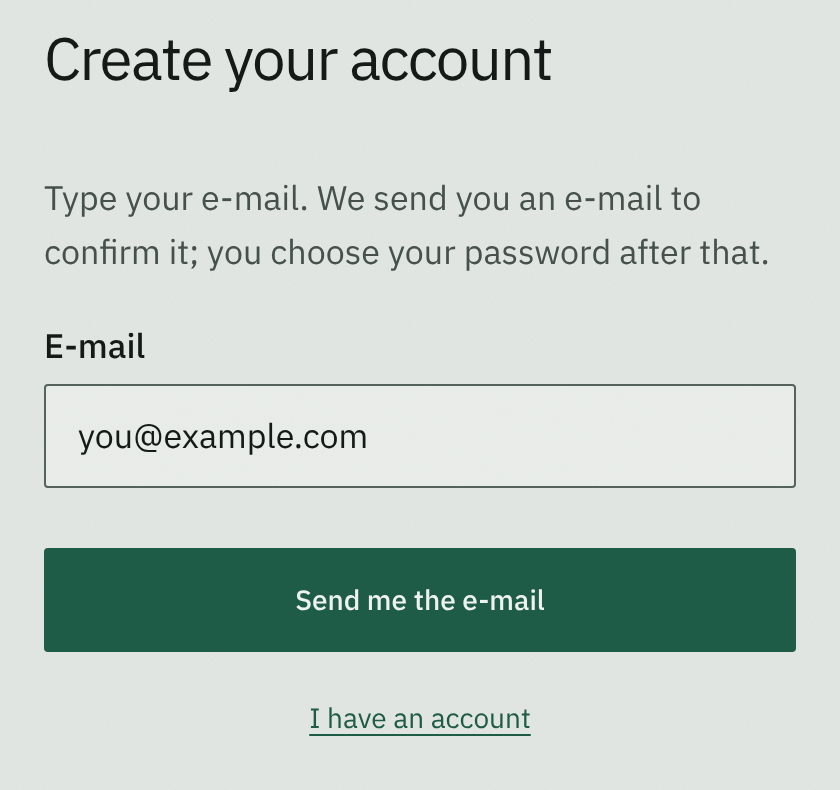
Create your account
Type your e-mail address and press "Send me the e-mail". Only your e-mail: you choose your password after you confirm it.
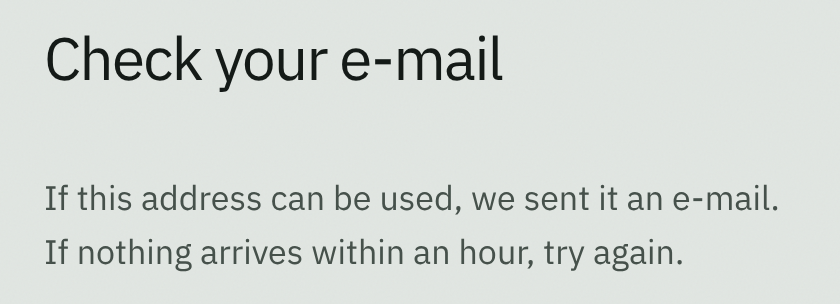
Check your e-mail
The page shows the same line for every address. If nothing arrives within an hour, look in your spam folder, then press "Try again" (or start again from the sign-in page).
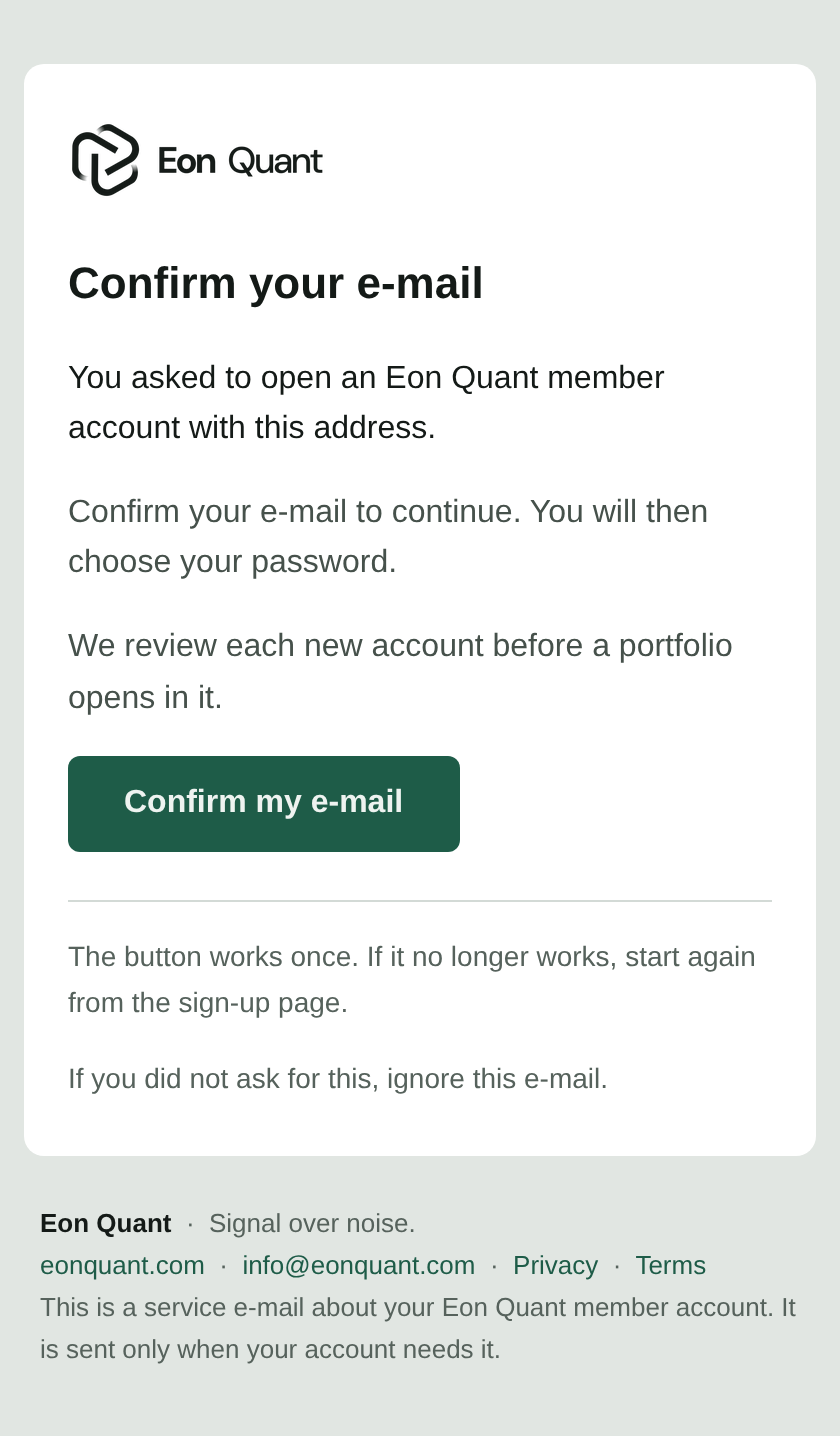
The confirmation e-mail
Its subject is "Confirm your e-mail". Press "Confirm my e-mail". The button works once: if it no longer works, start again from "Create your account" on the sign-in page.
Confirm and choose your password
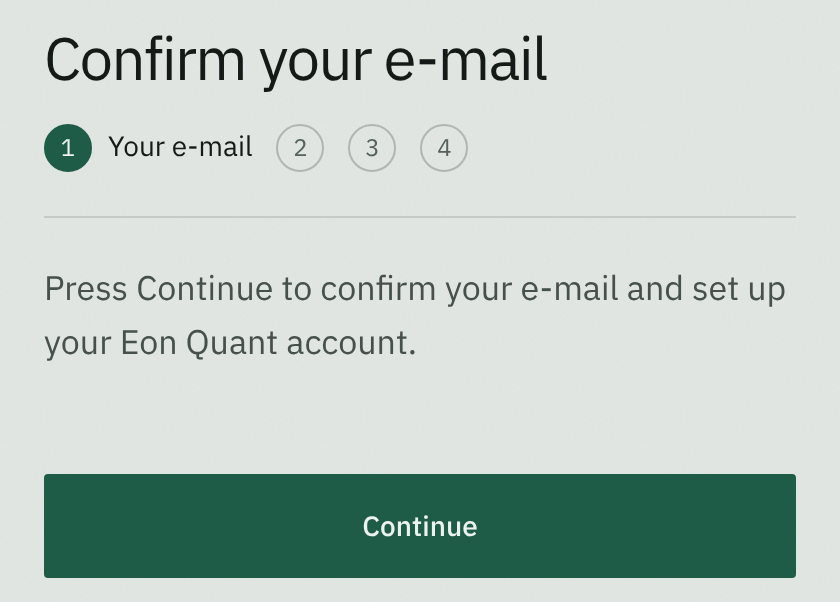
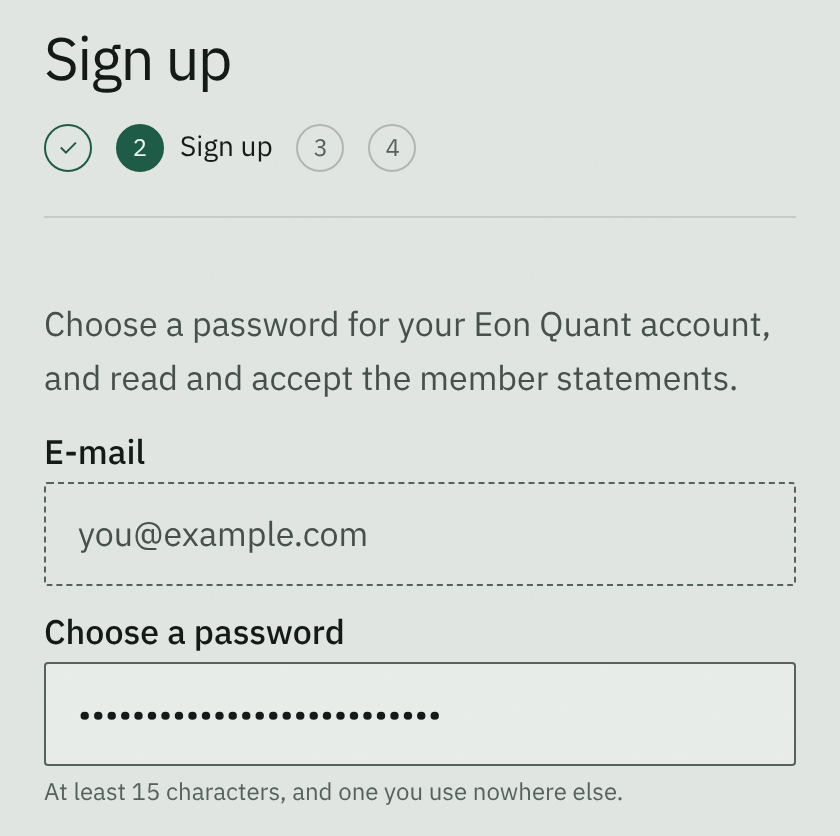
The button opens our sign-in page. Press "Continue", then choose your password: at least 15 characters, and one you use nowhere else.
Sign in
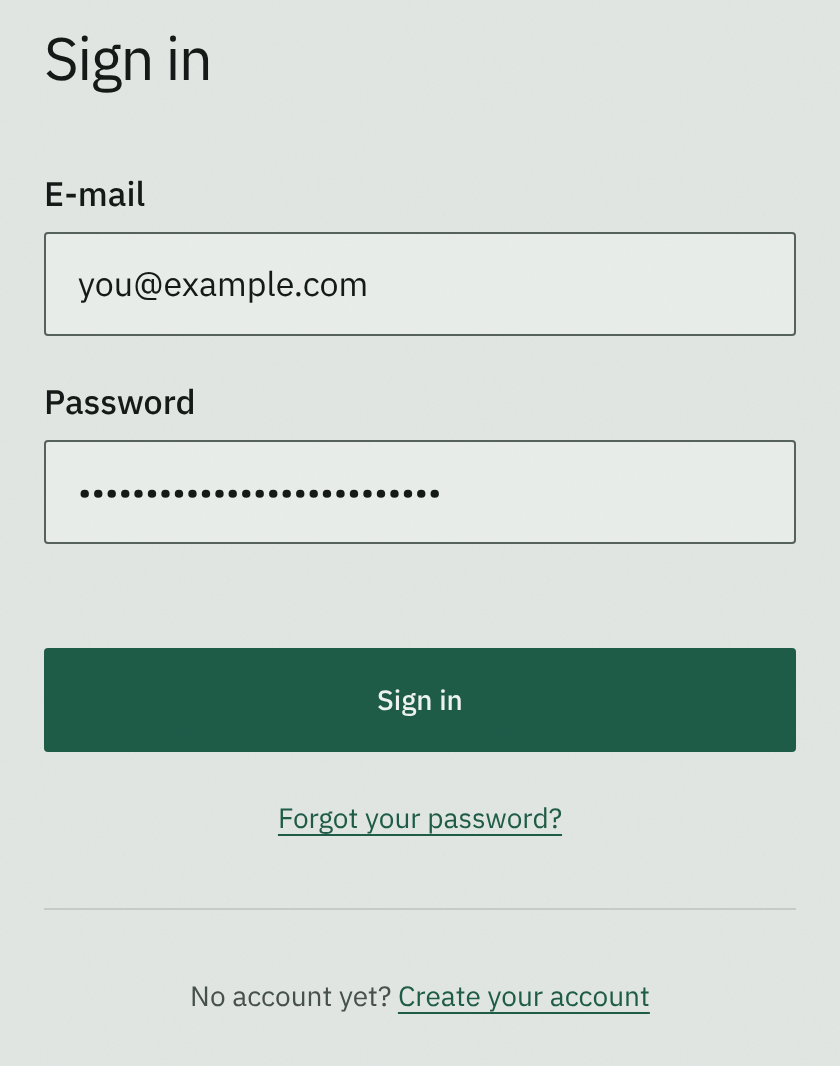
From then on, sign in with your e-mail address and your password.
The member statements
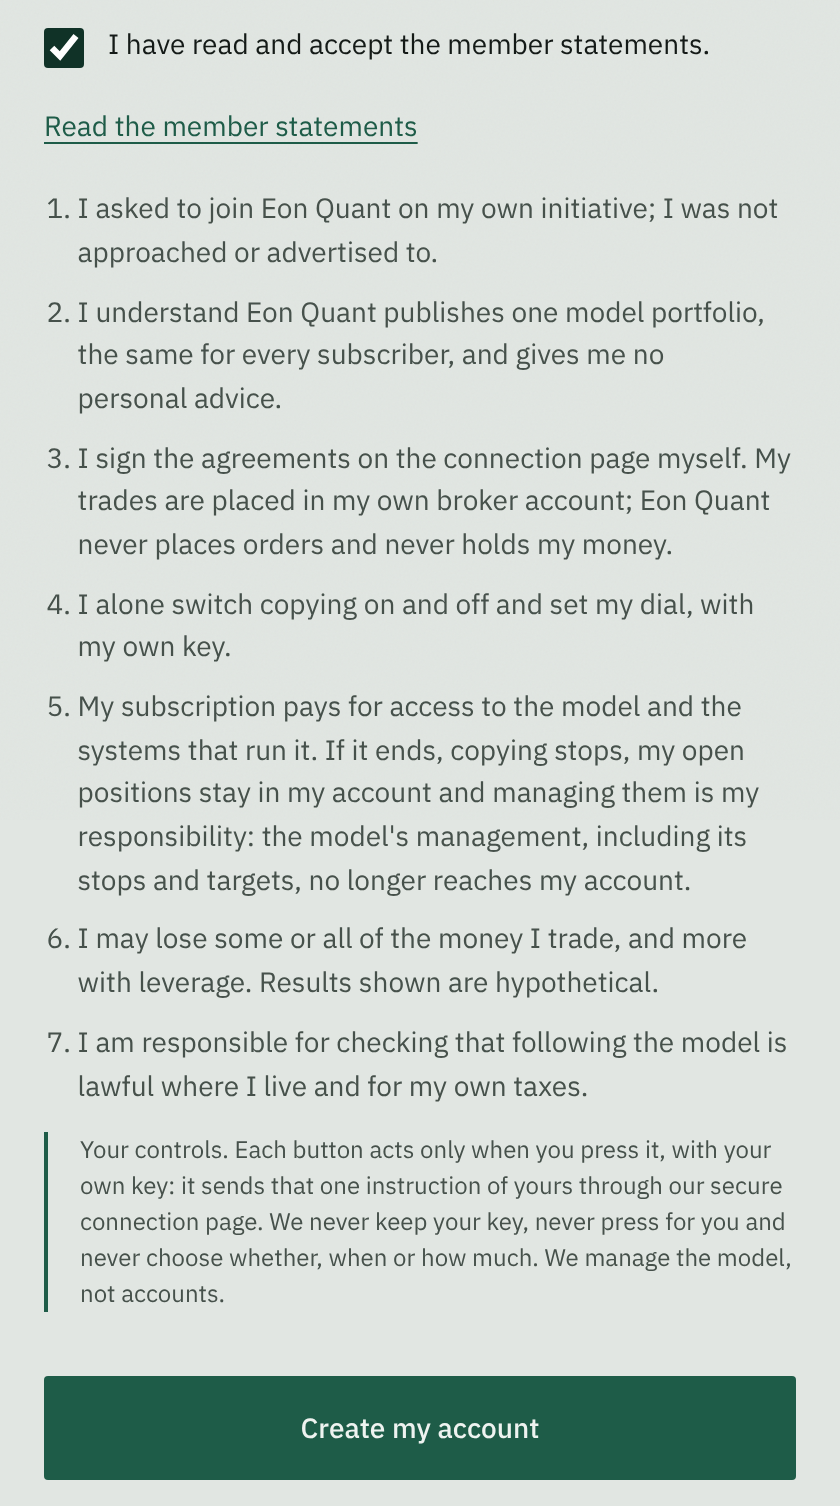
Open the list to read the member statements, tick the box to accept them, and press "Create my account". One tick records them together.
Your account is reviewed
We review each new account before a portfolio opens in it. Nothing is needed from you until then: sign in again later and open "Connect".
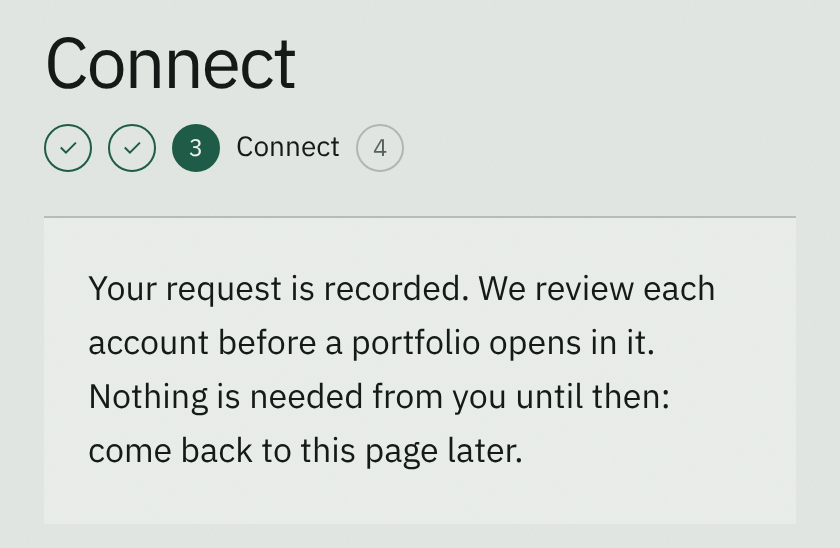
Connect: four steps on the connection page
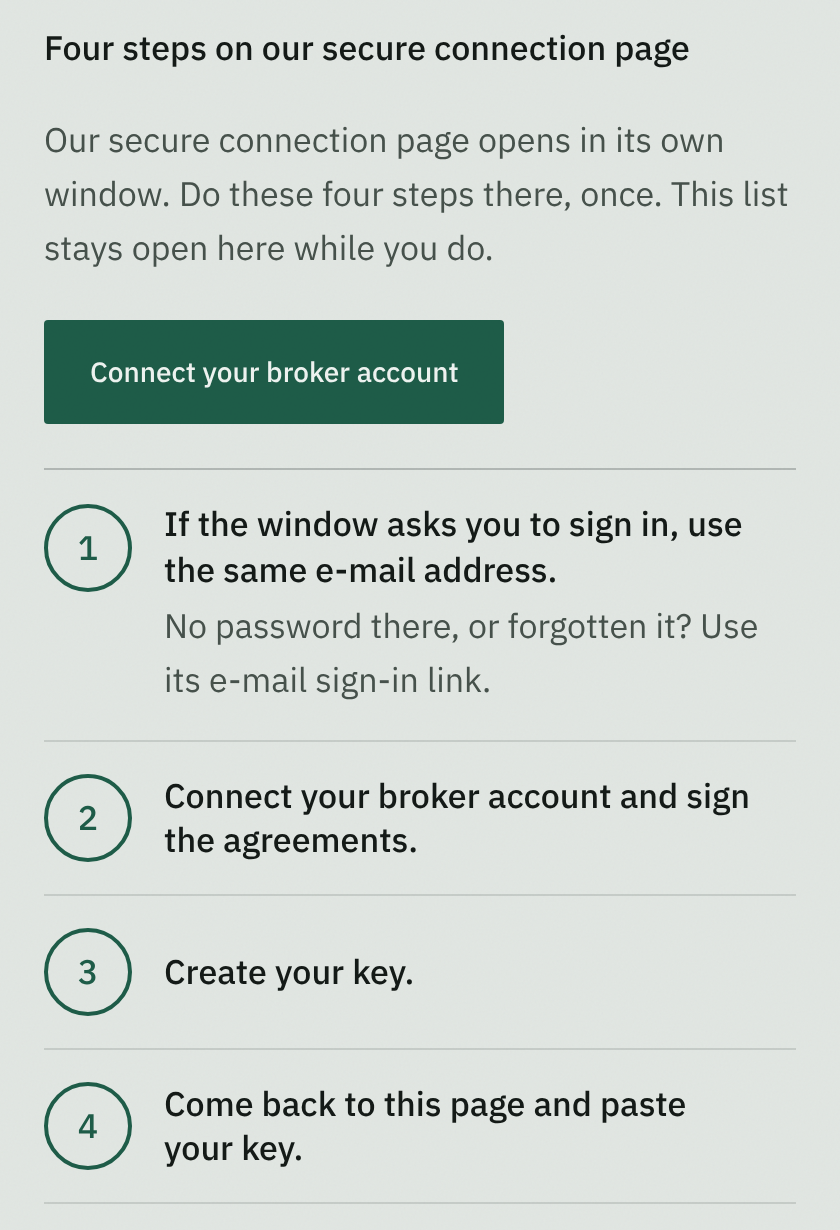
Press "Connect your broker account". Our secure connection page opens in its own window, and our page stays open behind it with the list of the four steps.
Do the four steps in the window, in order, once. Step 3 is creating your key: the five pictures below show it, and all five happen on the connection page, in the window. Then come back to our page.
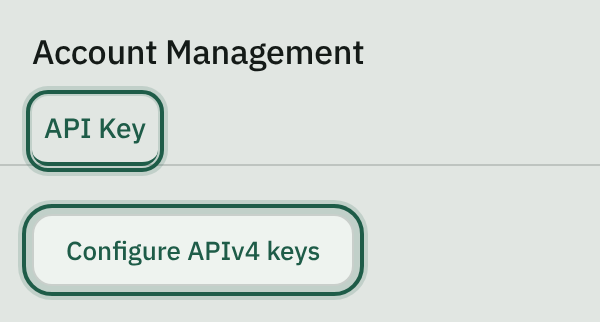
Open the key page. In the window, open your account settings. Choose "API Key", then "Configure APIv4 keys". 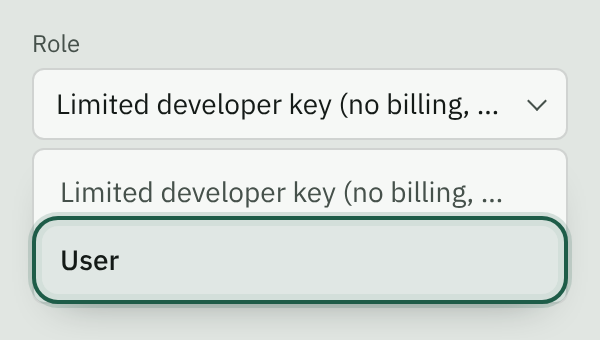
Choose User. The other choice cannot start copying. 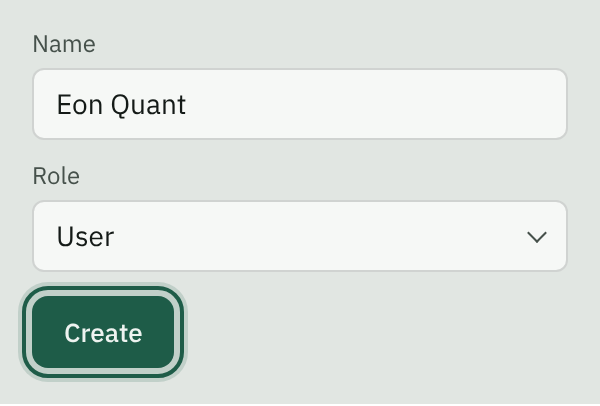
Press Create. Give the key any name you like, then press "Create". 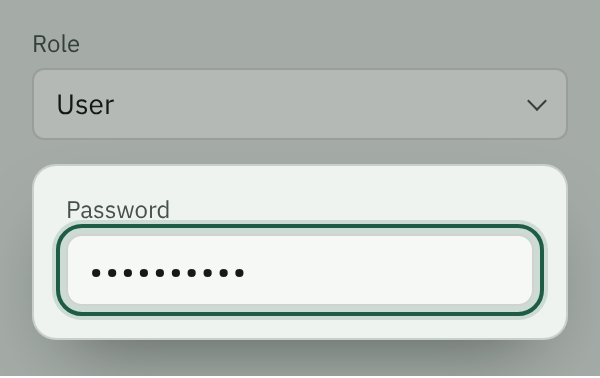
Type your password. It asks for your connection-page password to make the key. 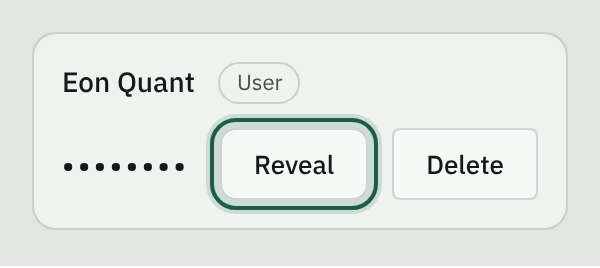
Copy the key. Press "Reveal" to see it, then copy all of it. Then come back to our page and paste it.
Paste your key
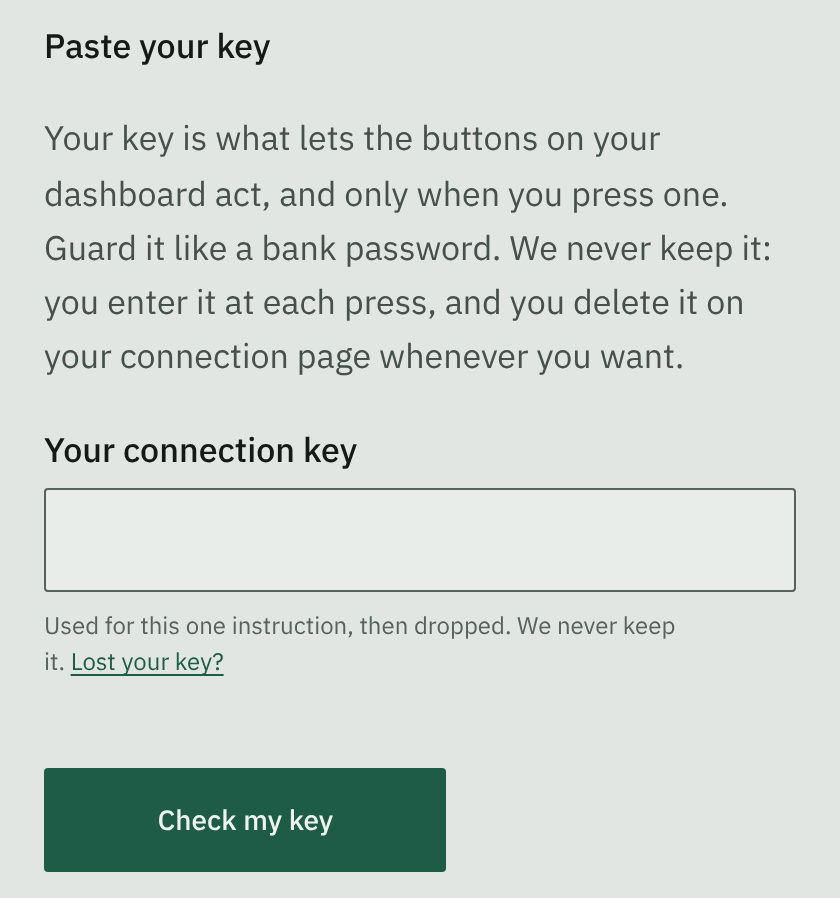
Back on our page, the next step is waiting under the list of four steps: "Paste your key". It is the same page, with nothing to press first. Paste your key there, then press "Check my key".
We never keep your key: you enter it at each press, and you can delete it on your connection page whenever you want.
Set your dial
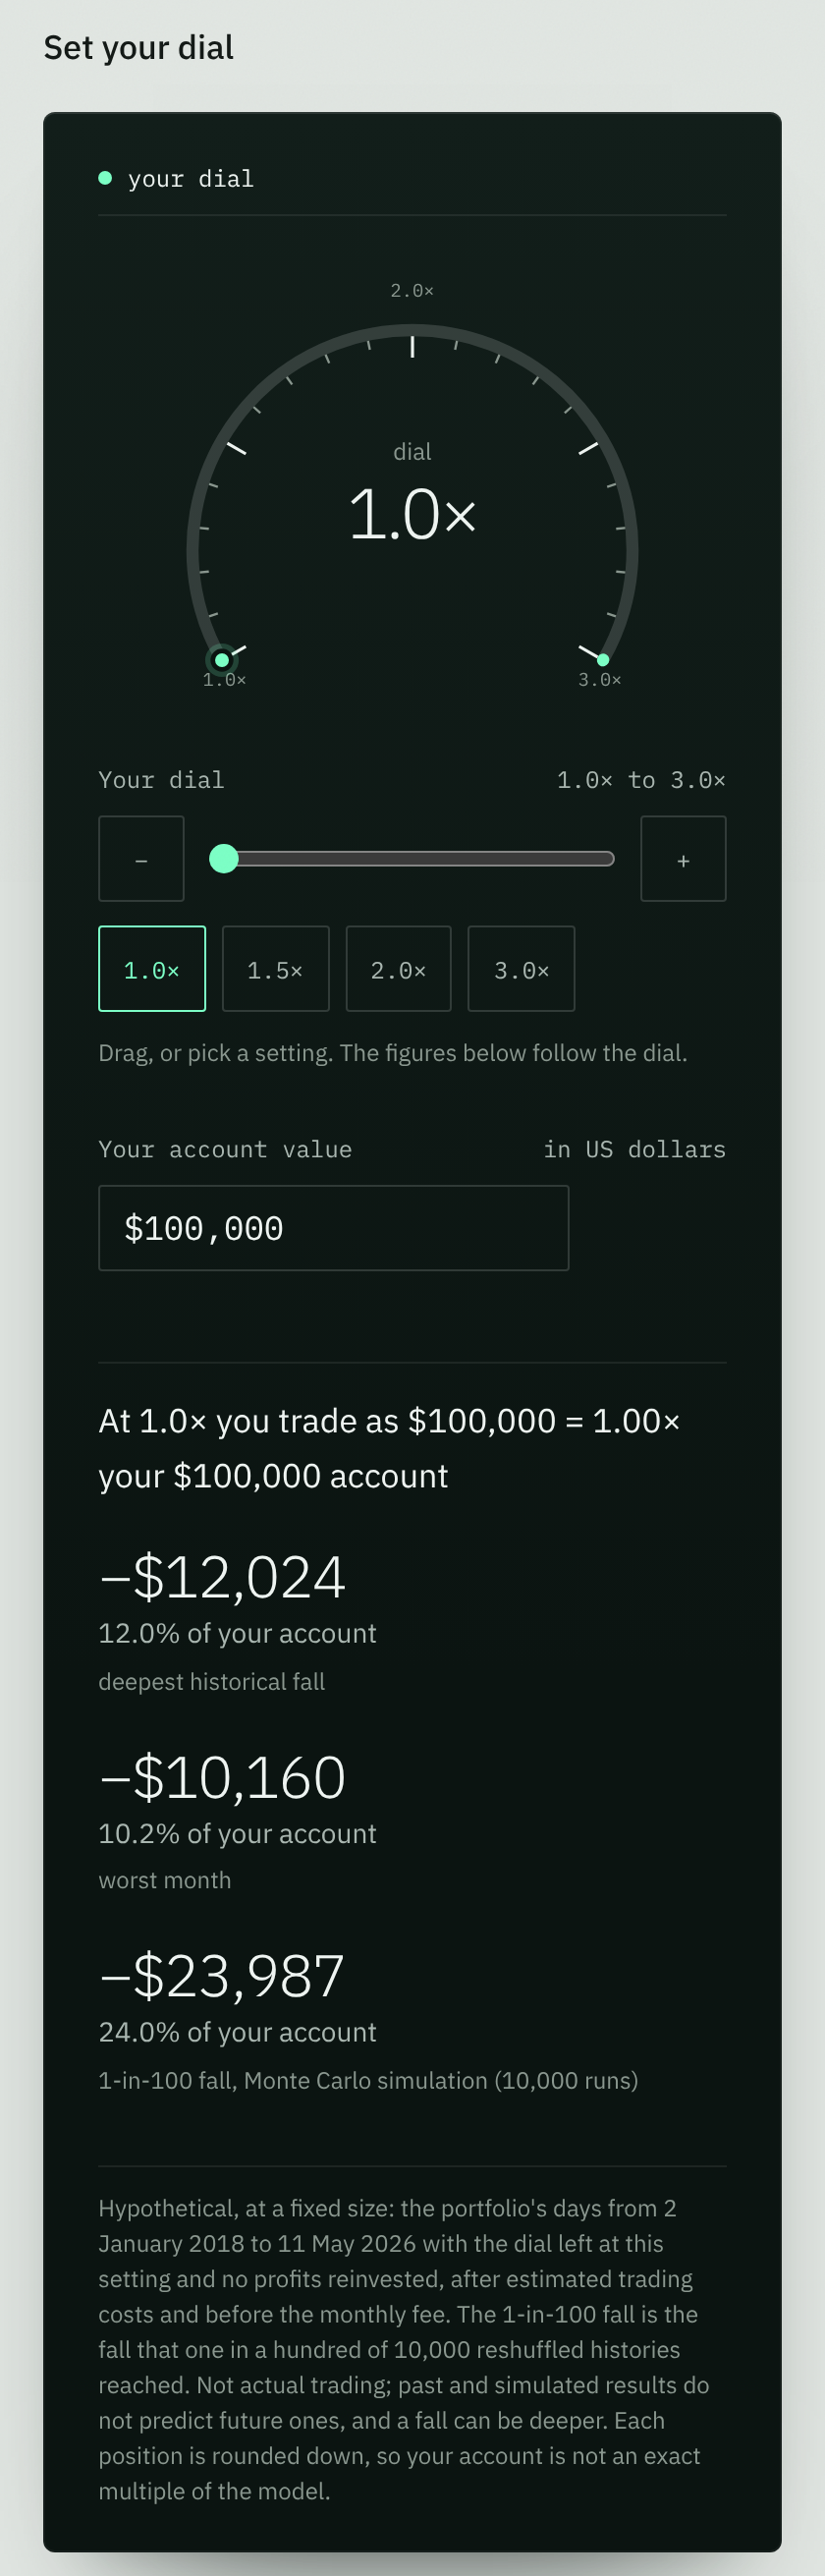
When your key is checked, your dial appears on the same page, in place of the four steps. There is no new page to open.
Your dial sets your trading size as a multiple of the model. The figures under it follow the dial, losses included. Then press "Start copying", further down the same page.
Start copying on your connection page
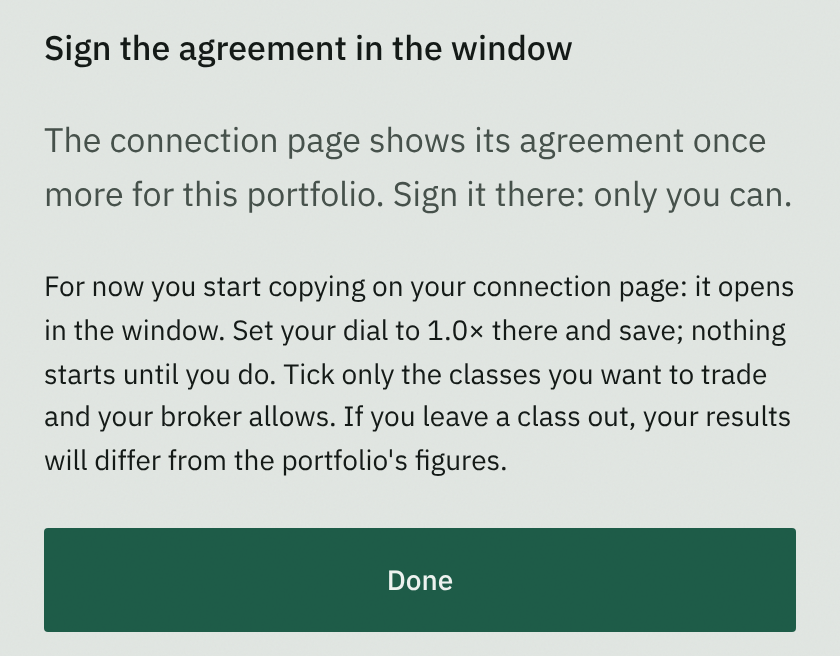
For now you start copying on your connection page, in the window. The connection page shows its agreement once more for this portfolio. Sign it there: only you can.
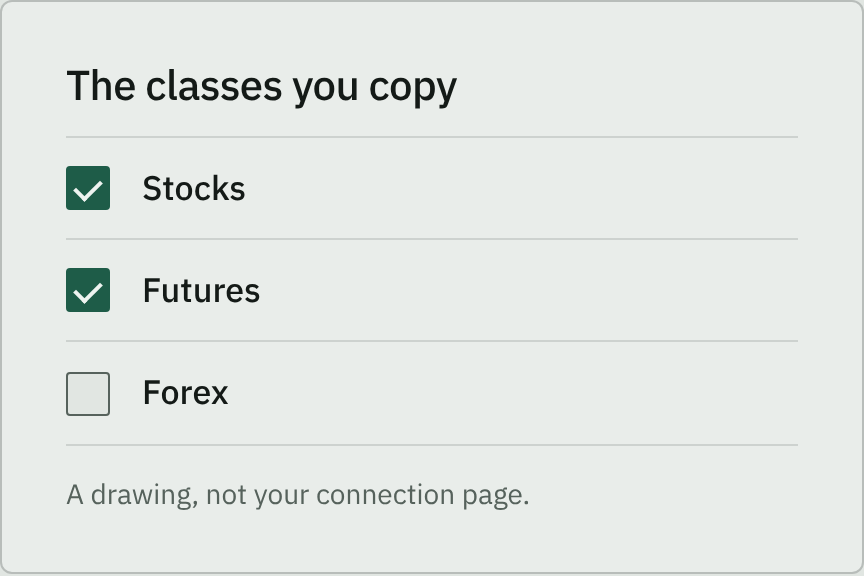
Set your dial there to the same setting and save: nothing starts until you do. Tick only the classes you want to trade and your broker allows. If you leave a class out, your results will differ from the portfolio's figures.
You are set
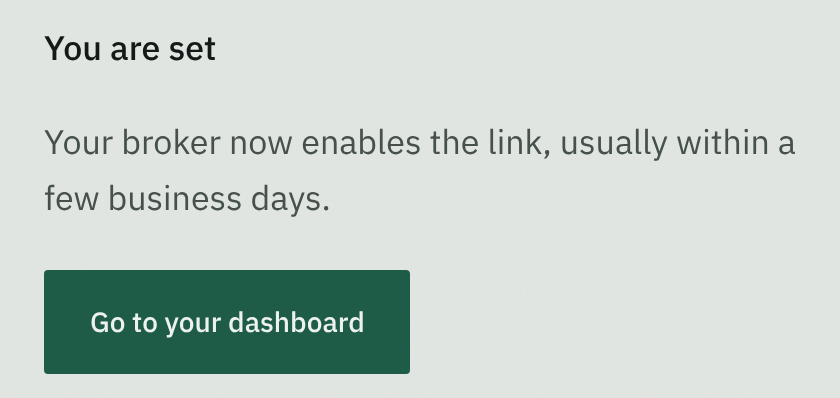
Your broker now enables the link, usually within a few business days.
Copying starts from the model's next new trade. Positions the model already holds are not bought for you.
Your dashboard and its controls
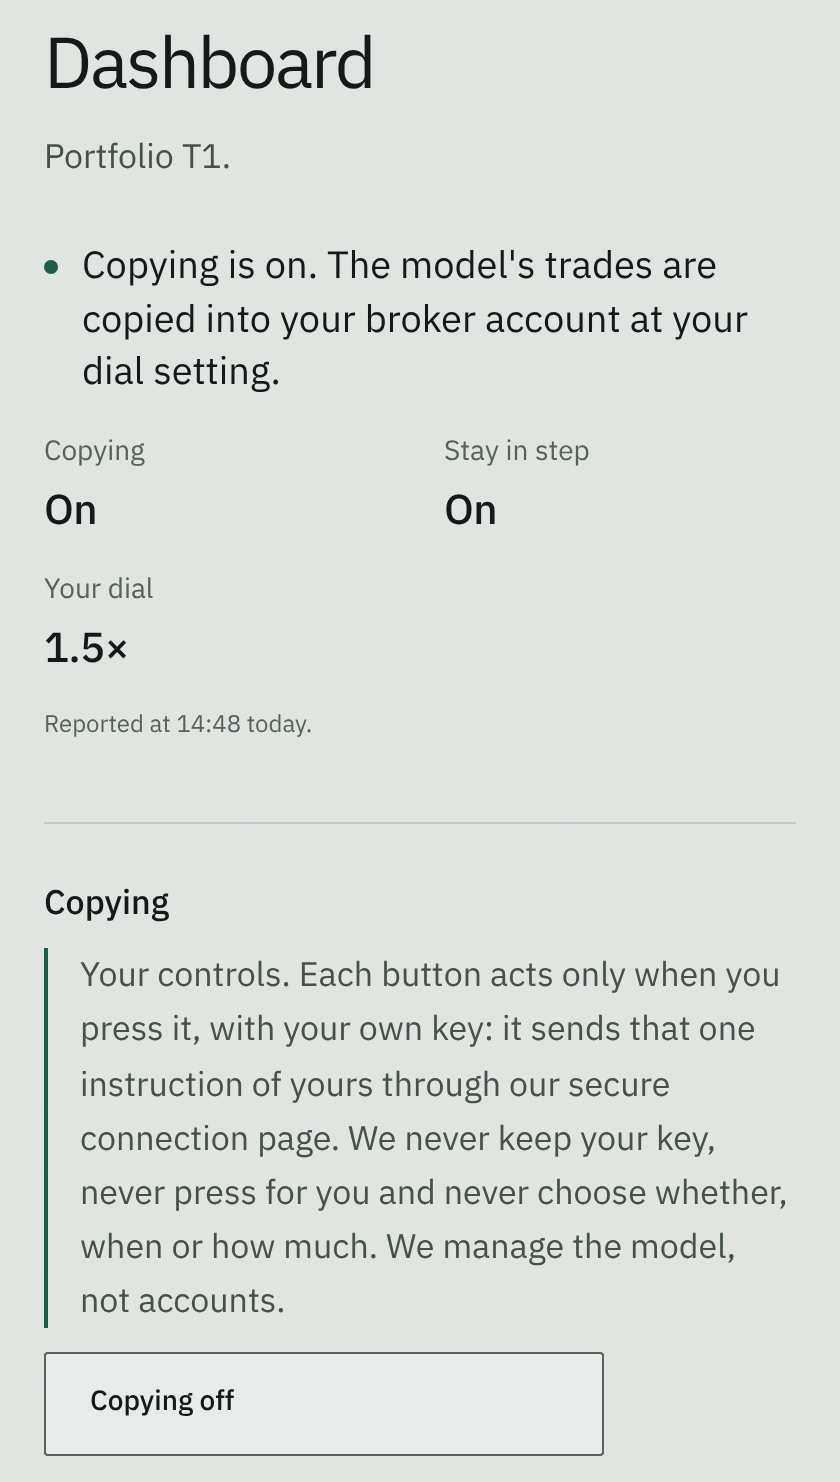
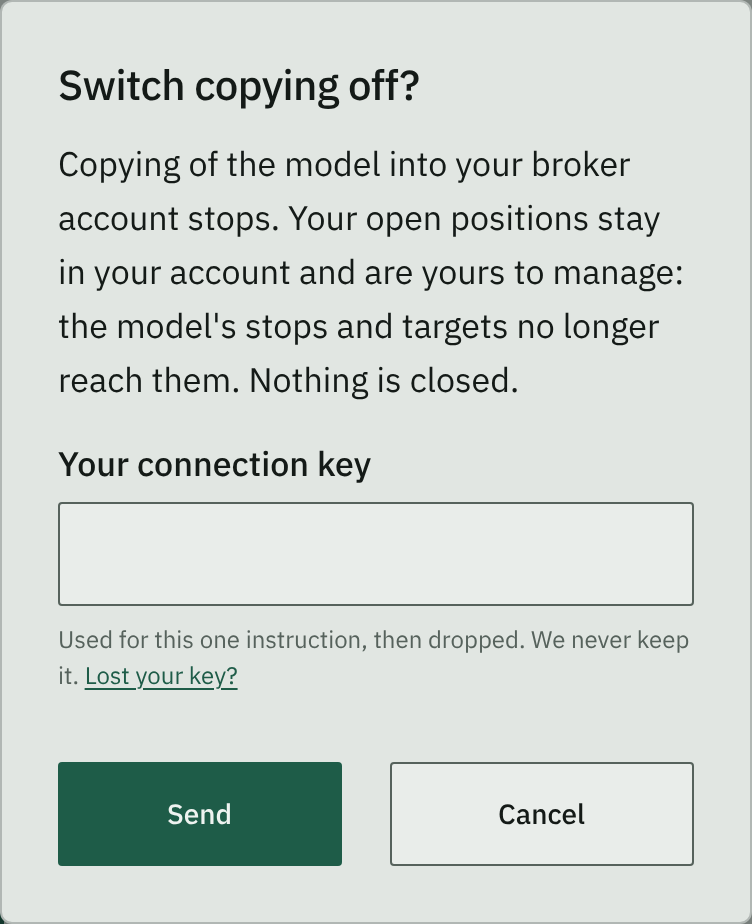
Your dashboard shows whether copying is on, whether your account stays in step, and your dial. Each control asks for your key before it acts, and acts only when you press it.
Forgot your password
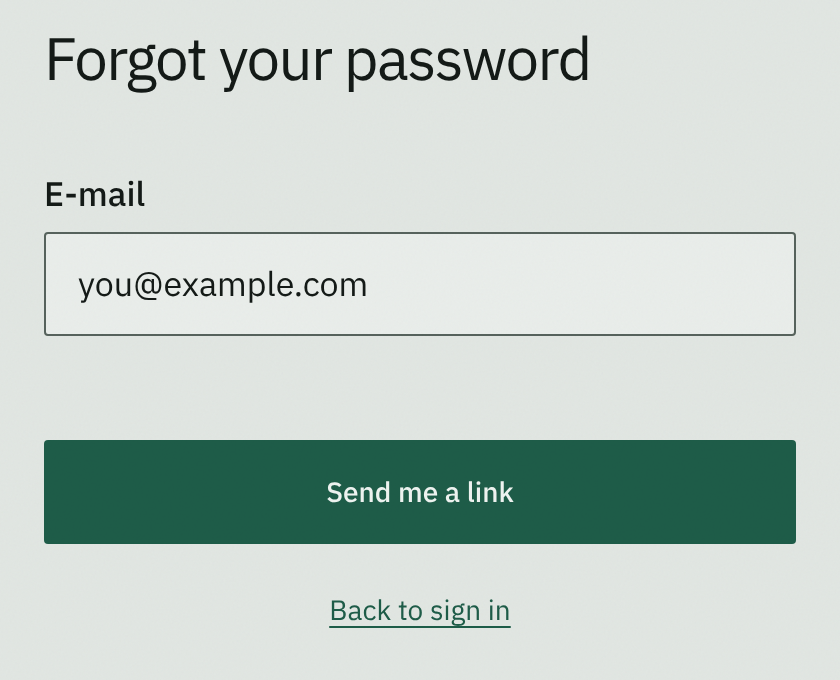
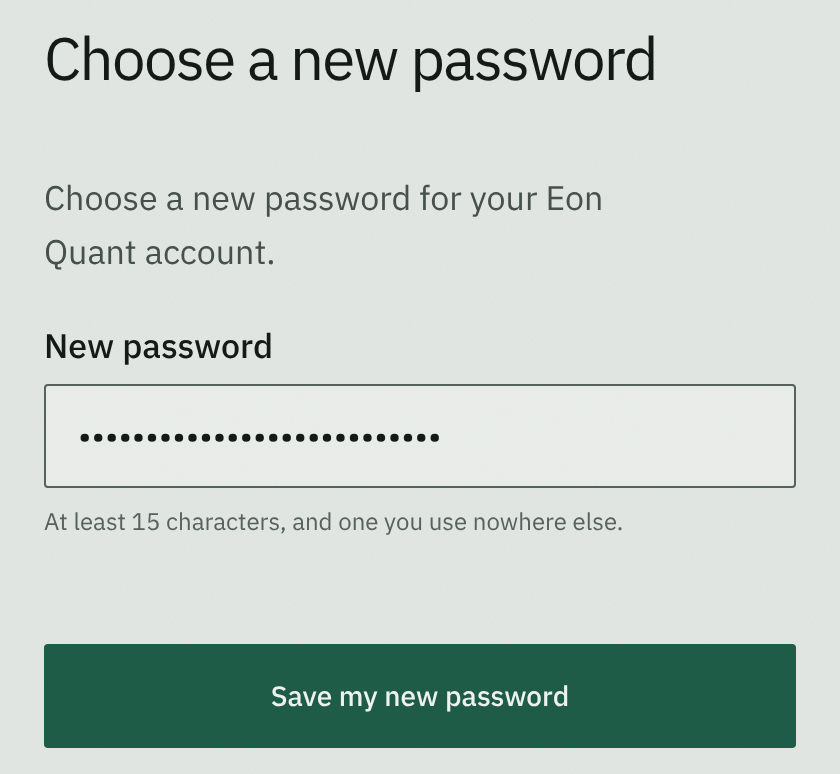
On the sign-in page, press "Forgot your password?", type your e-mail address and open the link we send. Then choose a new password: at least 15 characters.
End your access
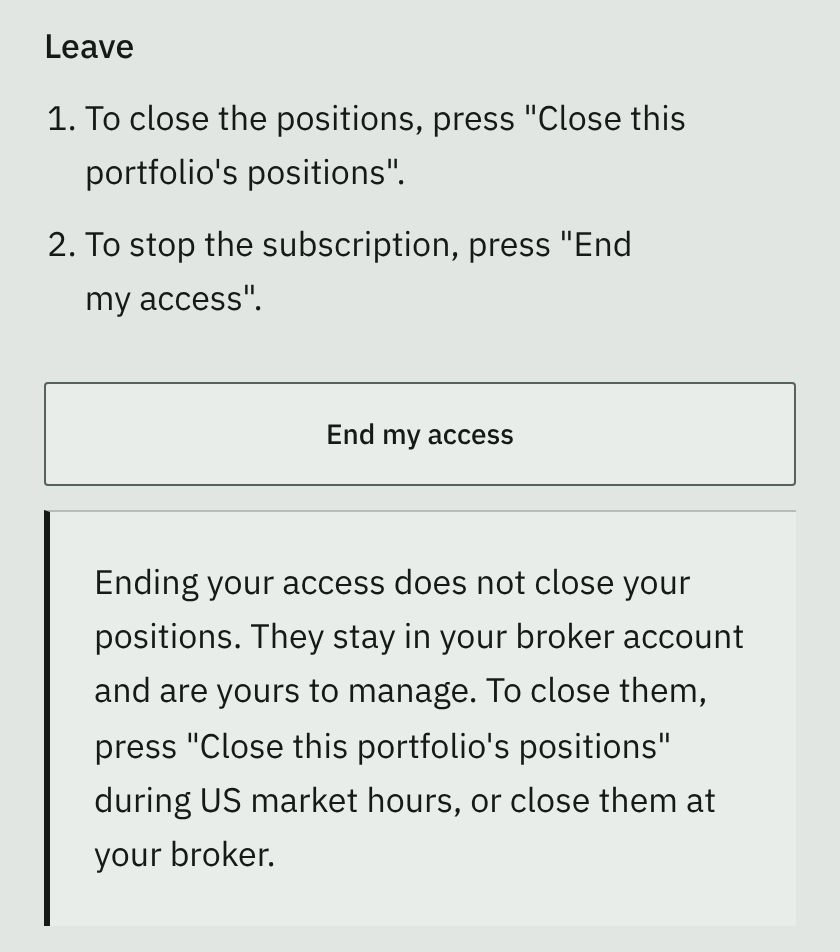
Both steps are on your dashboard, under "Leave". To close the positions, press "Close this portfolio's positions". To stop the subscription, press "End my access".
Ending your access does not close your positions: they stay in your broker account and are yours to manage.


Questions? Write to info@eonquant.com. Go to the sign-in page